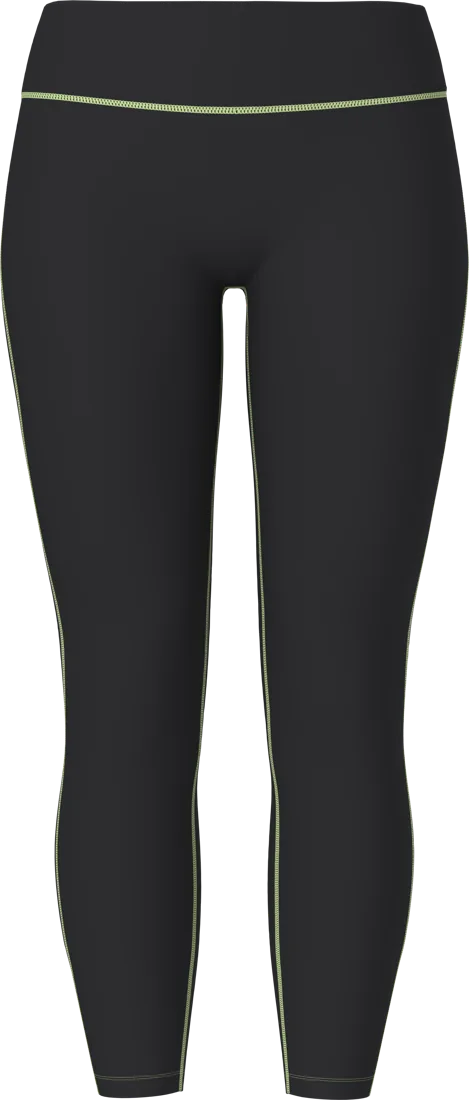
A colour on a phone screen is a lovely thing to fall in love with and a terrible thing to manufacture. Take a sage green photographed in a café at golden hour. Open the same photo on three screens and you get three greens. That’s why matching a colour for production starts with something much more boring: a Pantone number, and a lab dip.
A lab dip is a small swatch of your actual fabric, dyed by the mill to match your colour standard (usually a Pantone TCX number) and sent to you for approval before any bulk fabric is dyed. The mill normally sends a few versions side by side, marked A, B and C. You approve one, or ask for another round. The approved dip then becomes the master that bulk fabric, trims and reorders are all checked against.
New Dong Huang (NDH) has been making activewear since 1999, so we have watched a lot of colours go from chip to bulk. Here’s how one colour makes that trip, and where it usually goes wrong.
Step 1: Give the mill a colour standard it can actually use
When people search “PMS color”, they mostly land in the print world. PMS stands for Pantone Matching System, and the books with C and U after the number are ink on coated and uncoated paper. That’s great for your hangtag. It’s not ideal for a legging.
For fabric, the standard most mills work from is the Pantone Fashion, Home + Interiors system. A TCX number (it looks like 19-4052 TCX) refers to a colour dyed onto a cotton swatch, which is a lot closer to a garment than ink on paper. The older TPX and newer TPG versions are the same colours on paper. Send the TCX number, and if you can, a physical swatch. A colour on your monitor is not a standard. It’s a mood.
One honest caveat. A TCX chip is cotton. Your legging is probably nylon or polyester with spandex, and those fibres take different dyes and reflect light differently. A shiny nylon face and a brushed polyester can be dyed to “the same” colour and still look like cousins rather than twins. So the goal is a close, agreed match on your fabric, not a clone of the chip. If you haven’t picked the fabric yet, do that first. Browse what we work with in our fabric library. Dipping a colour on the wrong base is wasted time.
Step 2: The mill dips, and you get A, B and C
The dye house mixes a recipe, dyes small pieces of your exact fabric in the lab and mounts them on a card next to the target. That’s the lab dip. Usually there’s more than one, each a slightly different recipe: a bit warmer, a bit cooler, a bit deeper.
This is the part brands rush. The card arrives, everyone’s busy, someone holds it up to the office window and says “B looks fine”. Then bulk shows up and B is fine at the window and a bit muddy everywhere else.
Step 3: Look at it under the right light
Two fabrics can match perfectly under one light and drift apart under another. The textile word for it is metamerism. The everyday version is a top and legging that matched in the sample room and don’t match in the changing room.
That’s why colour is judged in a light box, which lets you flick between standard light sources. The usual ones are D65 (daylight), TL84 (the kind of fluorescent light you get in a lot of shops) and A (warm, incandescent). Tell the mill which light matters most to you, and check the dip under all of them. If you only sell online, daylight is a reasonable primary. If your product hangs in a store, check the store light too.
You can’t control how a customer’s phone shows your sage green. You can control what the mill matches to and under which light. Do that part properly and leave the rest.
Step 4: Write comments a dyer can use
“Make it pop” is not a dye instruction. Neither is “more vibe”. A dyer works in directions: redder or greener, yellower or bluer, lighter or darker, brighter or duller. So write comments that way and always say what you’re comparing to:
“B is closest. Compared to the TCX chip under D65, B is slightly too yellow and a touch dark. Approve if it can be cleaner, otherwise re-dip.”
If none of the dips is right, ask for another round. One more round now is cheaper than a season of slightly wrong bulk. When you approve, approve one specific dip, in writing, and keep the physical swatch. That swatch is now worth more than the Pantone book.
Step 5: The waistband, the thread and everything else
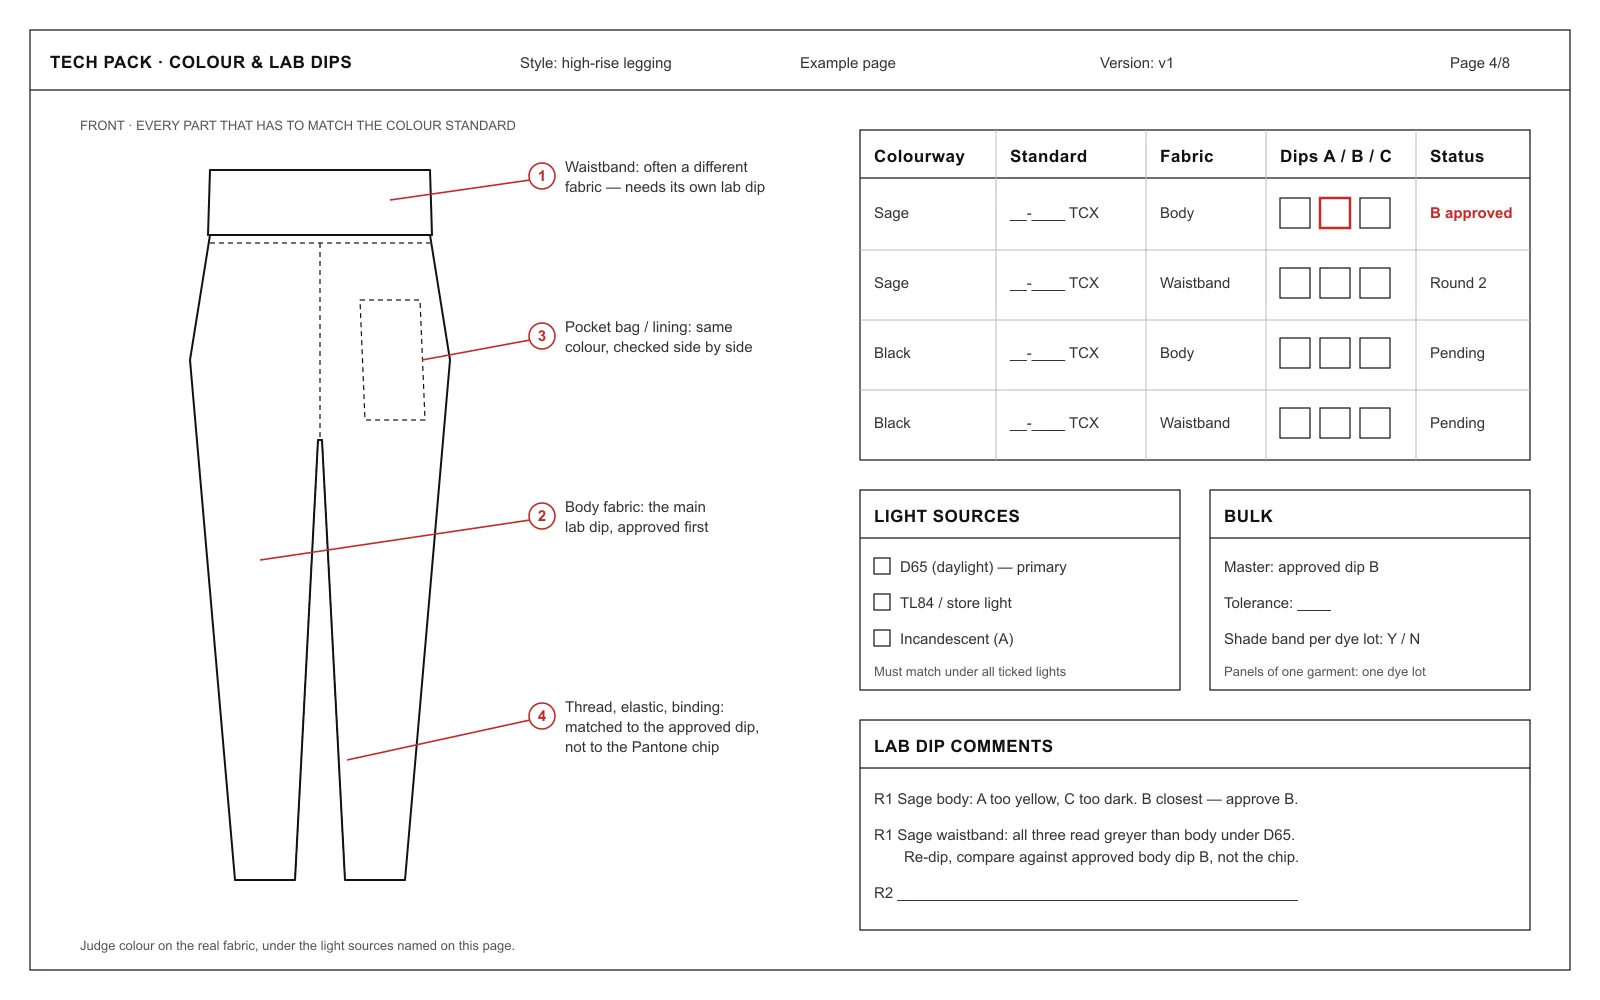
Here’s what catches people out. A legging is rarely one material. The waistband may be a different fabric. The pocket bag or lining might be another. Then there’s elastic, binding, thread and zip tape. Each of those is dyed separately, often by a different supplier, and each one needs to be matched.
The trick is to match trims to the approved body dip, not to the Pantone chip. The chip is the starting point. The approved dip is the truth. If the waistband and the body are both matched to the chip independently, they can each be “close” and still not match each other. Put every part that needs to match on the colour page of your tech pack, with its own line and status. Our guide to building a tech pack walks through the other pages.
Step 6: Bulk, dye lots and the reorder
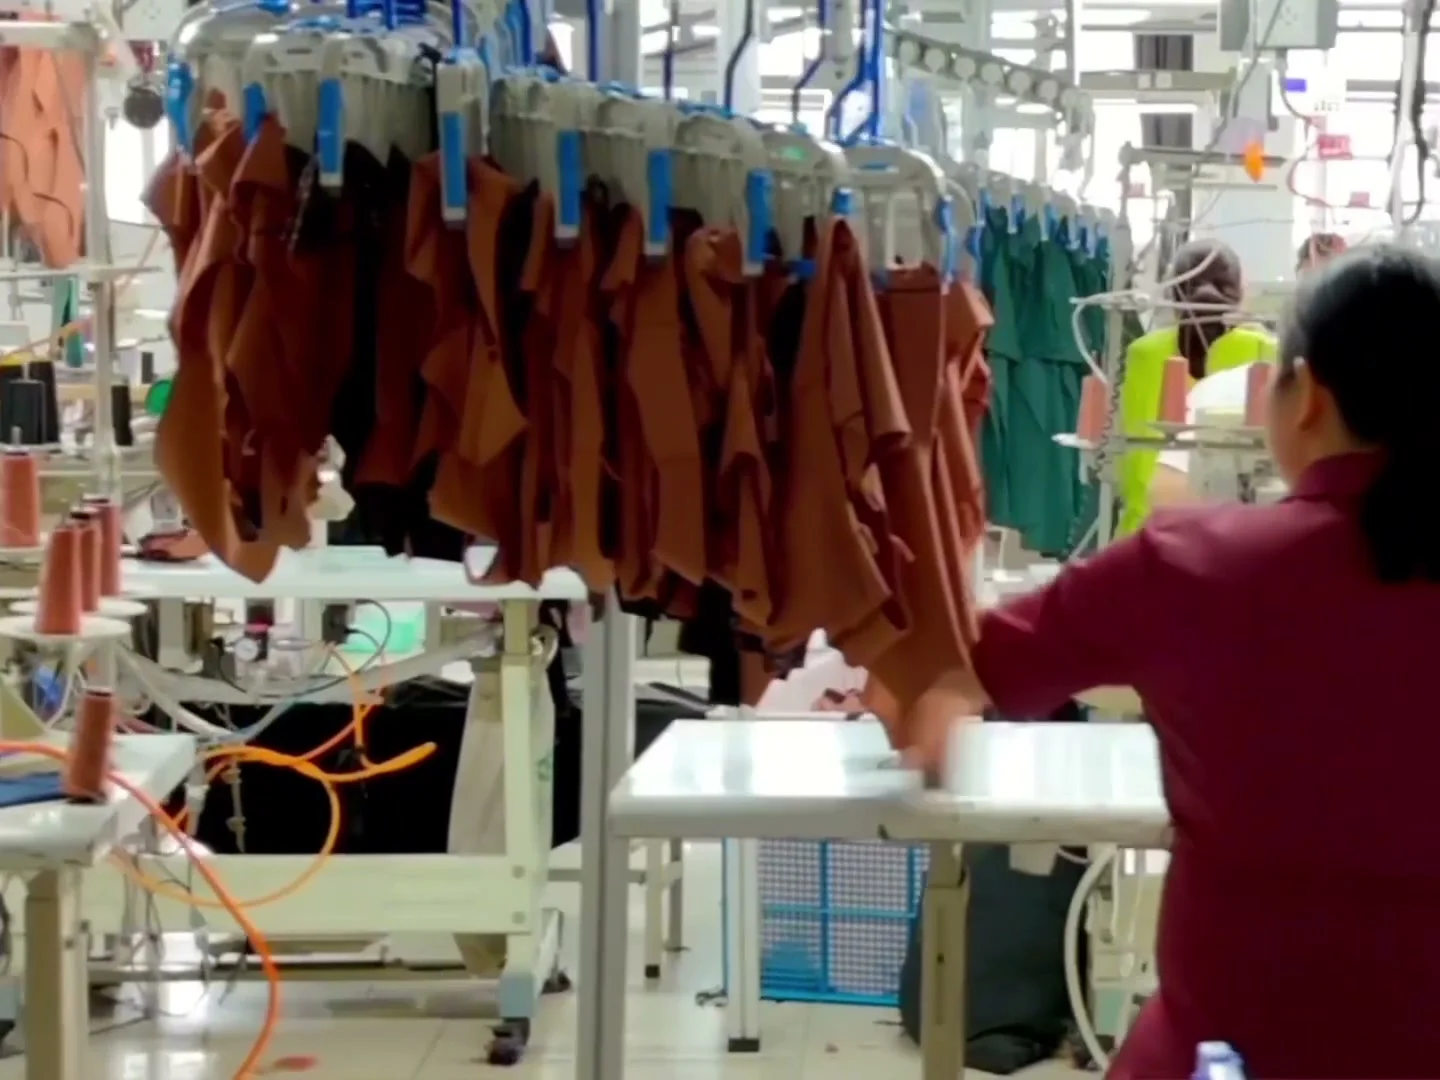
Bulk fabric isn’t dyed in one go. It’s dyed in batches called dye lots, and no two lots come out exactly identical. Small lot-to-lot variation is normal. What matters is that every lot is checked against the approved dip and stays inside a tolerance you agreed up front. Some brands ask for a shade band, which is a strip from each lot so you can see the spread.
On the factory floor, lots matter in a very practical way. Rolls are sorted by dye lot before cutting, and the front, back and waistband of one garment should come from the same lot. Mix them and you can end up with a legging where one leg is a shade lighter than the other, which is exactly the kind of thing a customer spots from across the room.
Then the reorder. For a direct-to-consumer brand this is the real test. A customer who bought black leggings in spring and buys again in autumn expects the same black. The way to get it is boring: keep the approved dip as the master, keep the recipe and fabric reference on file, and check every reorder against the original standard, not against whatever the last batch looked like. Small drifts add up when each batch is matched to the one before it. Consistent quality from the first run to the reorder is a big part of how we work with DTC brands.
Lab dip vs strike-off
A lab dip is for solid colours. A strike-off is the same idea for prints: a sample of the print on your actual fabric, so you can check colours, scale and placement before bulk printing. If your style has a print and a solid trim, you’ll approve both.
Getting your colours matched
If you’re starting a range, send us the Pantone TCX numbers (or physical swatches), tell us which fabric each colour goes on and which light matters most, and we’ll get lab dips made on your fabric. Our minimum is 500 pieces per colour per style. Send us your colours and your brief.