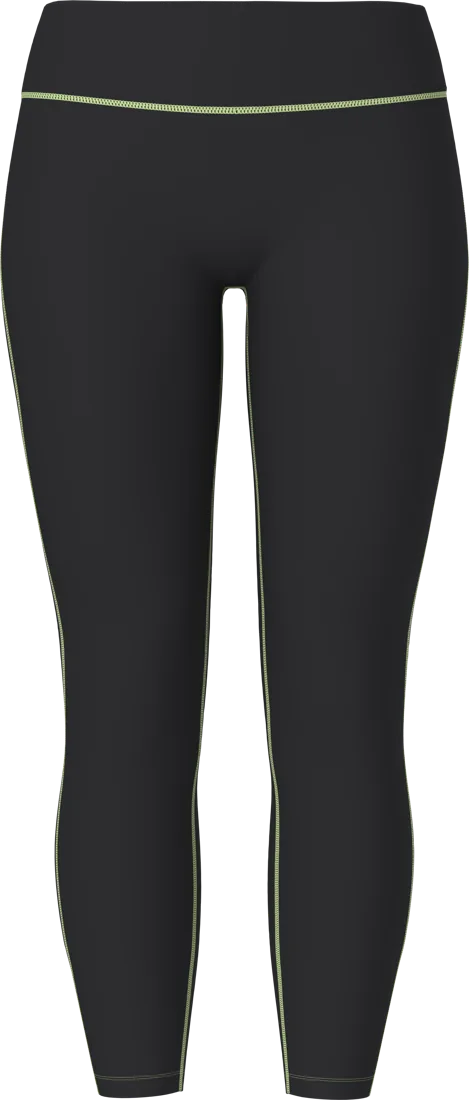
Picture a legging coming back from a customer. The fabric is fine. The seams are fine. The logo on the hip looks like a dry riverbed. Somebody picked the method from a T-shirt printer’s price list, and a T-shirt never has to do a lunge.
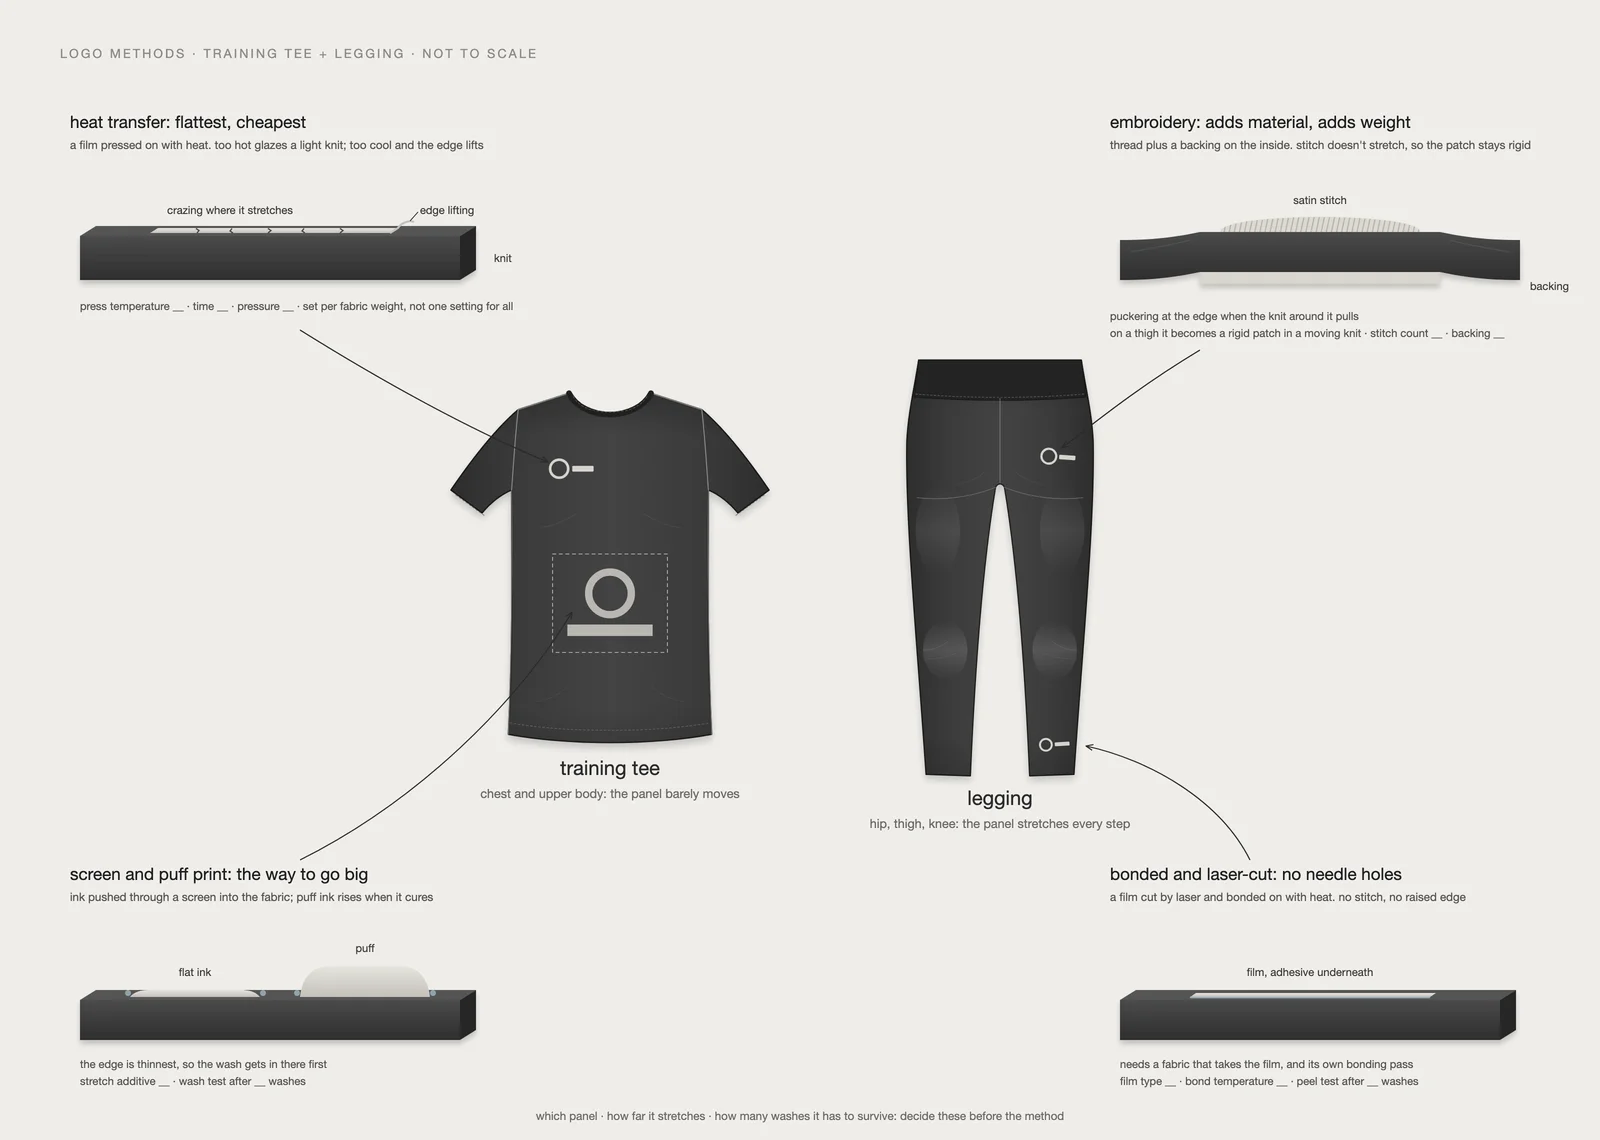
Here is the short answer. Heat transfer is the flattest and cheapest, but it can craze on a panel that stretches hard. Embroidery looks the most premium, but stitch doesn’t stretch, so it belongs on a panel that barely moves. Screen and puff print are the cheapest way to go big, and they wear first at the edge. Bonded, laser-cut logos leave no needle holes and no raised edge, but they need a fabric that takes the film and an extra bonding pass. None of them is better than the others. The right one depends on which panel it sits on, how far that panel stretches, and how many washes it has to survive.
Start with the panel, not the method
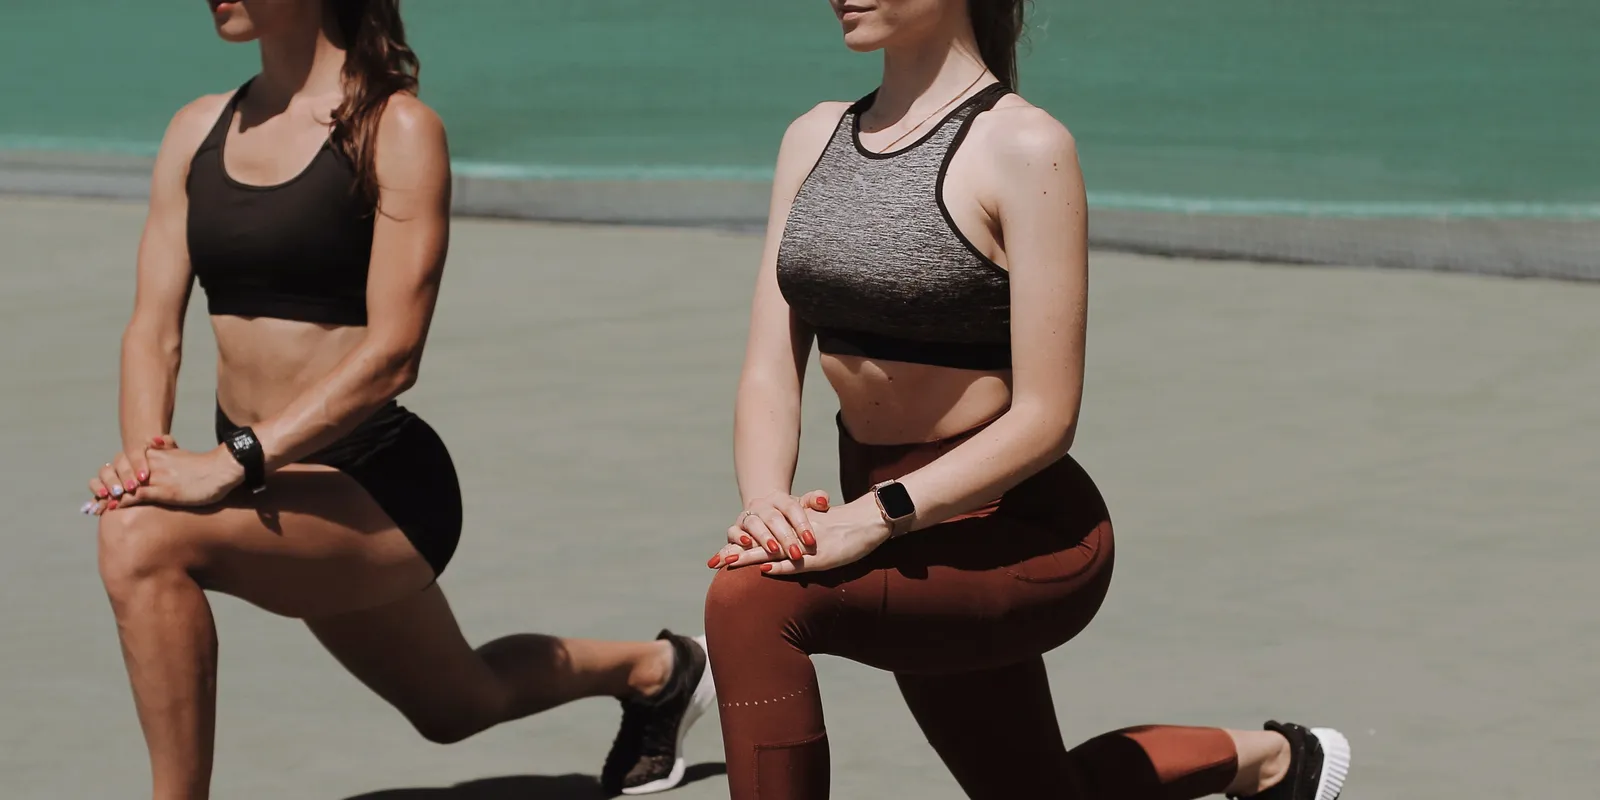
Most comparisons of heat transfer vs screen printing vs embroidery are written for cotton tees and hoodies. On a cotton tee the chest is the chest. It sits there. On activewear, the same logo can go on a sports bra band, a legging waistband, a thigh, a back yoke or a sleeve, and each of those moves differently.
So before anyone talks about cost per piece, we ask three things. Which panel is it on? How far does that panel stretch when the body moves? And how many washes should it look good for? A chest logo on a training tee and a hip logo on a legging are two different jobs, even if the artwork is identical.
Heat transfer: flat, cheap, and fussy about temperature
A heat transfer is a printed film that gets pressed onto the garment with heat and pressure. It lays flatter than anything else on this list and it’s usually the cheapest per piece, which is why it’s on so many waistbands and neck labels.
I know this one from the inside. My first job was in our factory, pressing labels, paid by the piece. The thing nobody tells you is that the press setting has to match the fabric. Too hot on a light knit and you glaze it, leaving a shiny ghost of the press plate around the logo. Too cool on a heavier fabric and the film never fully grabs, so the edge lifts after a few washes. One setting for every fabric in a range is how you get both problems in the same order.
The other catch is stretch. A transfer is a film, and a film on a panel that stretches a lot will eventually craze: fine cracks across the print, like a dry riverbed. On a low-stretch area (a waistband, the back of the neck, a chest) that’s rarely an issue. On a thigh or a seat panel, it’s the first thing we’d question.
Embroidery vs screen printing: the two most-compared methods
Embroidery vs screen printing is the comparison people search most, and for activewear it comes down to one difference. Embroidery adds material. Screen printing puts ink into and onto the fabric.
Embroidery
Embroidery reads as effort in a way nothing else does. You can feel it with your eyes closed. That’s because it isn’t sitting on the fabric, it’s thread sewn through it, usually with a backing on the inside to stop the stitches pulling the knit out of shape.
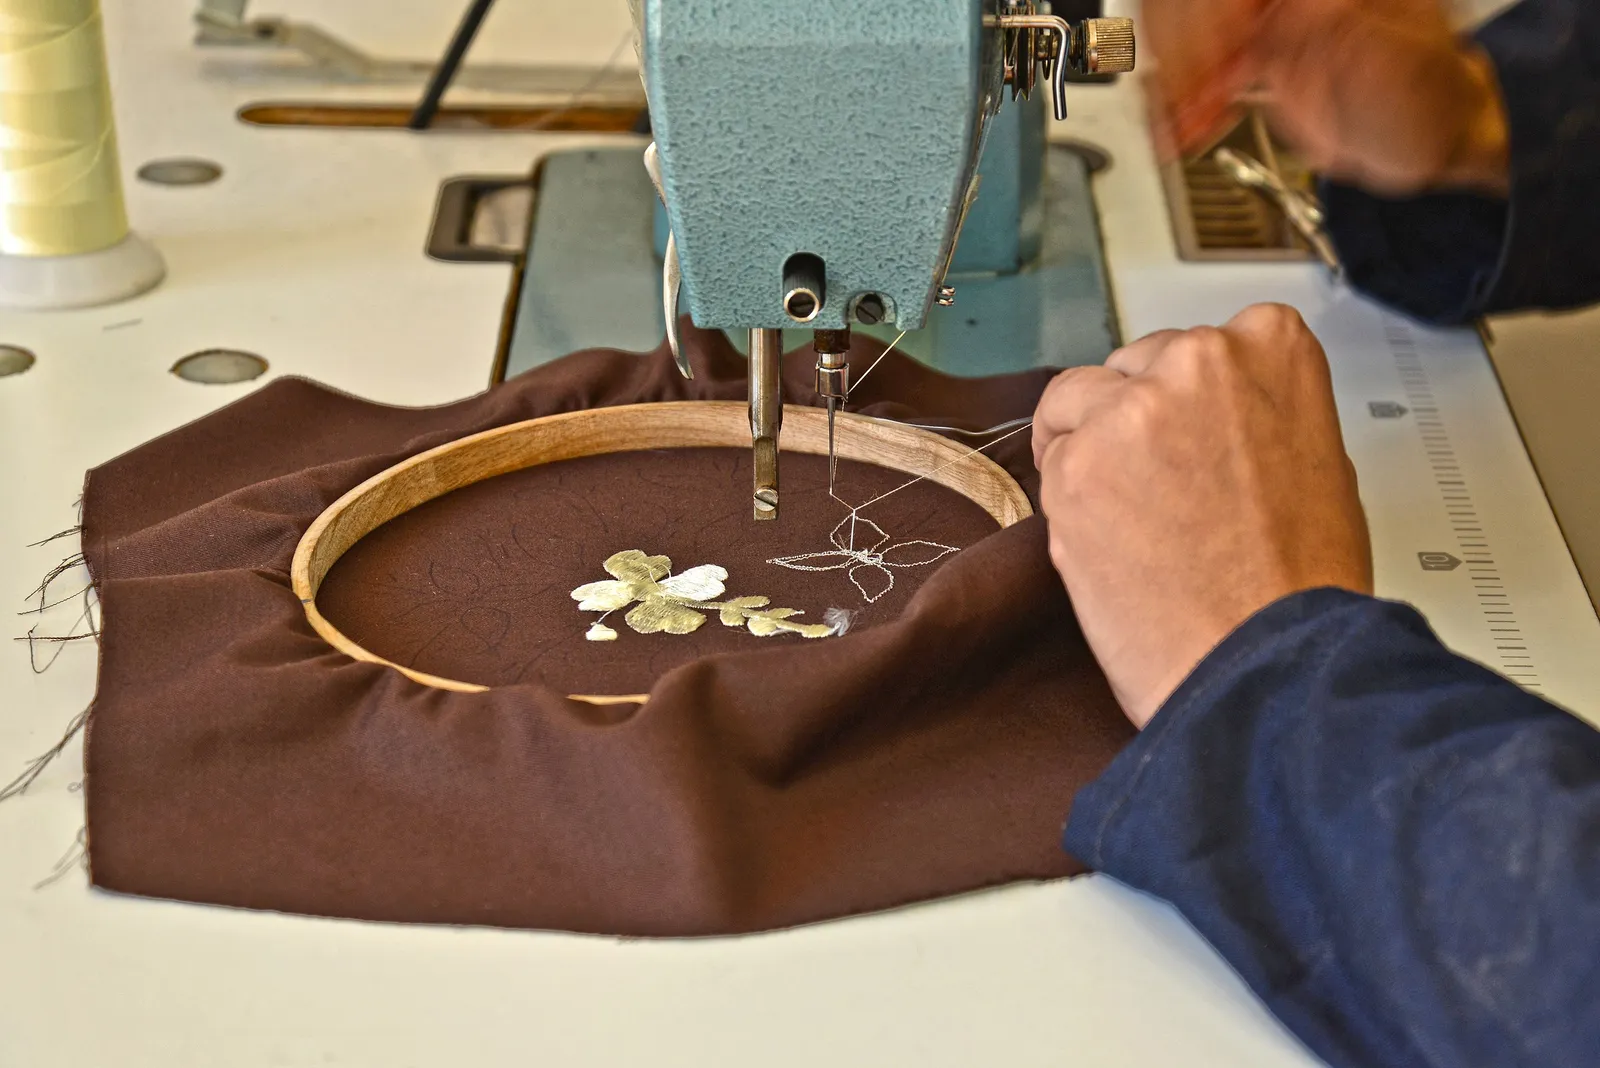
The problem is that stitch does not stretch. Put a dense embroidered logo on a panel that has to move and you’ve made a small rigid patch in the middle of a stretchy knit. The fabric around it puckers, the backing can rub on the inside, and the panel no longer moves the way the pattern was cut to move. On a jacket chest, a cap, or the front of a loose tee it’s lovely. On a legging thigh or a sports bra cup, we’d steer you somewhere else.
Screen and puff print
Screen printing pushes ink through a mesh screen, one colour per screen. It gives you coverage and a hand feel no film can match, and once the screens are made it’s the cheapest way to put a big graphic on a garment. Puff print is screen printing with an ink that rises when it cures, so the logo stands up off the fabric.
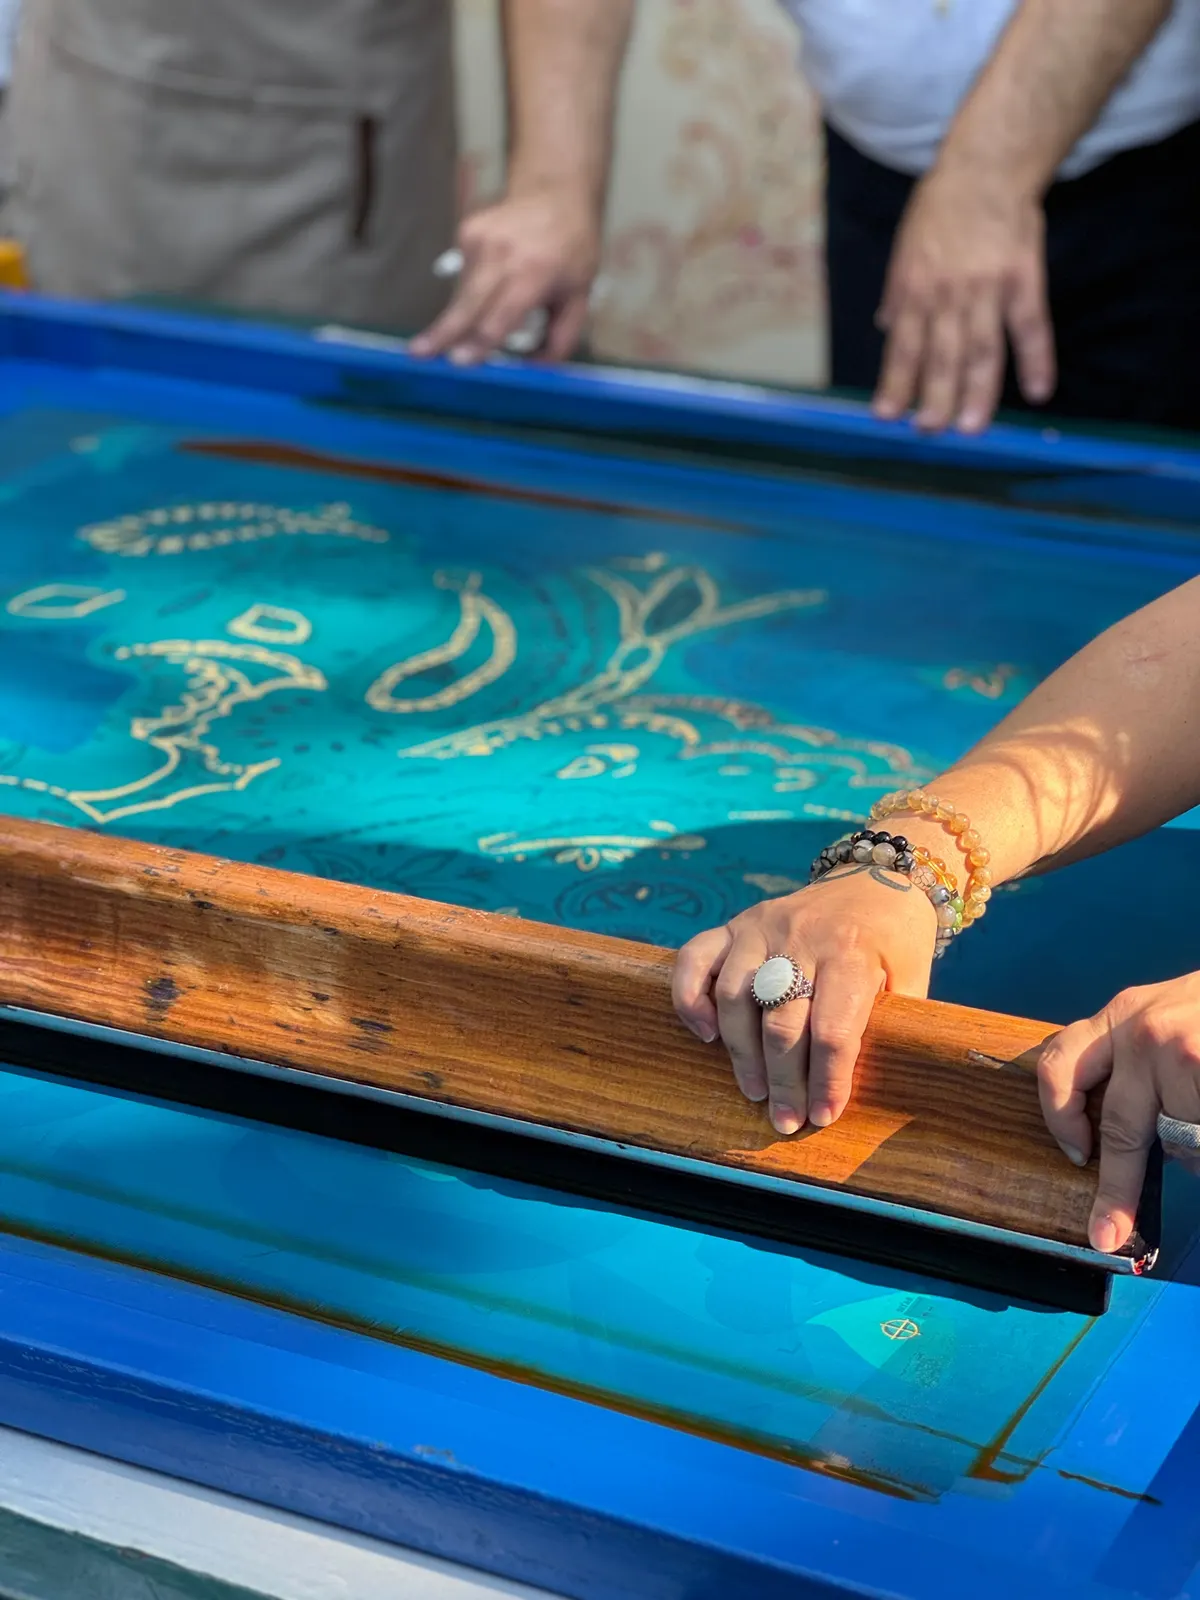
On stretch fabric, the ink needs to be able to stretch with it, and the weak point is the edge. The edge is where the ink layer is thinnest, so it’s where washing gets in first and where cracking or peeling usually starts. If a print is going to fail, look at the outline before the middle.
Bonded and laser-cut logos
The fourth option is a film logo that’s laser-cut to shape and bonded on with heat. There’s no stitch, so there are no needle holes, and there’s no raised edge to catch or wear. On a clean, minimal style it can look like the logo grew there. We wrote more about bonding in general in our piece on heat sealing vs stitching.
The trade-off is that it locks you in. Not every fabric takes the film well, so the logo and the fabric have to be chosen together, and bonding is its own pass on the line, which you pay for.
Heat transfer vs screen printing: which lasts longer on activewear?
This is the question behind most of the searches, and the honest answer is that it depends on where the logo sits more than on the method. A well-pressed heat transfer on a waistband can outlast a screen print on a thigh. A screen print on a tee chest can outlast a transfer that was pressed at the wrong temperature.
Where they genuinely differ: screen printing usually wins on big graphics and on hand feel, and gets cheaper per piece as quantities grow because the screens are a one-off cost. Heat transfer wins on flatness and small, detailed logos, and it doesn’t need a screen per colour. If you’re also weighing sublimation or DTF, those are different again (sublimation dyes the fibre itself and works on light polyester), but the panel question still comes first.
What to put in the tech pack for a logo
A logo line that just says “print, white, 6cm” leaves too much to guess. For each logo, give us:
- the method, and a second choice if you’re open to one
- exact placement, measured from a fixed point like the waistband top or the side seam
- size and colour references (Pantone for inks and threads)
- the panel’s fabric, so we can set press settings or ink to suit
- how many washes it should survive, and how you want it tested
The tech pack guide covers the rest of the sheet. If you only have the artwork and a photo of where you want it, that’s fine too. We’d rather start a conversation from a photo than from a guess.
Developing a style with a logo that has to last
New Dong Huang (NDH) has been making activewear in Dongyang, China since 1999. We can do all four methods on this page, on leggings, sports bras, shorts and training tops, and samples take 7–10 days, so you can wash-test a logo on the real fabric before you commit to bulk. If you’re a DTC brand planning a first run, the page for DTC brands explains how sampling and reorders work with us.
If you’ve got a logo that keeps cracking, lifting or puckering, send it to us with a photo of where it sits. The answer is often not the one you were first told.
Originally shared on Instagram: https://www.instagram.com/p/Dd1QAihEToS/